Here's a quick look at my soapstone carving from start to finish. I would estimate about 8 hours of work on this piece over 3 days. I could probably "whittle" that down a bit if I stopped jumping up and dancing with the kittles when a favourite song comes on my iPod! In the top photo is the rough piece of stone. At this point I don't really know what I'm going to do with it yet - first I file away all the rough stuff around the edges. I work on a rubber mat that helps to cushion the soapstone so it doesn't break, having learned from experience. It also helps keep my work area clean as the soapstone dust falls between the grooves.

Then with my rifflers, rasps and files of all different sizes I start to cut away material to find the shape I want. I like this shape below but I know there's more I need to do.

After cutting away a bit more and giving it a more defined shape, I'm happy. Kazi came in and saw a heart and said she really liked it so it has found its recipient!

What an amazing colour (photo below) - this is after a couple of hours sanding with wet/dry sandpaper starting at 180 grit and going up to 12,000 grit. Then I switch to fabric/mesh "sand paper" which is really flexible and can get down into the grooves starting at 1800 grit and going up to 15,000 grit. With soapstone I do all of the work by hand as it is so easy to chip or break. (I put a couple of old hand towels on top of the rubber mat for extra cushioning and have a tub of water to help with the sanding)With wood and harder stones I can use a dremel to do some of the work.
I have tried a lot of polishing compounds but what I like best in common floor wax. I rub a little on with a piece of felt and take a piece of cheesecloth or shammy and give it a good buffing....very carefully as now it's pretty slippery.
In the photo below my brother saw a stylized ram's head and a friend called it celtic/feminist/modern. I told him he was bang on! In this lighting it looks dark green/grey...(using an overhead light)...

...while in this photo (window light) it looks a light grey with bits of blue. I'm really happy with how it turned out.

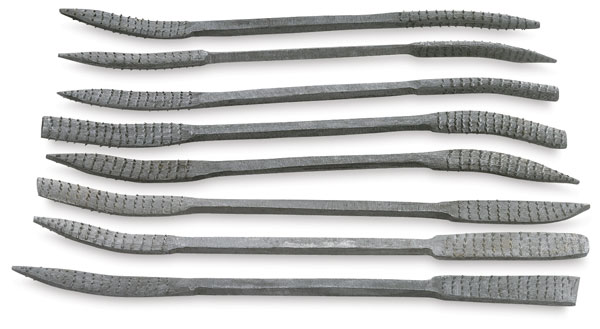
Tools:
I use rifflers, rasps and files of all different sizes:

The wet/dry sandpaper is available in some hardware stores and the mesh sanding stuff I send away for online. There used to be a hobby shop not far from me that carried very fine grit sanding paper, not really paper, it looked more like plastic, but they have closed.
I just heard from Annie, with whom I hiked Hadrian's Wall that the piece I sent to her arrived safely so now I can post photos of it:
Once again, I had no idea what the final piece would look like - I just knew I wanted to create a spiral shape. While we hiked we kept finding examples of spirals in nature - especially snails. Annie took some amazing photos of a few of the many snails whose lives she saved :)


I am thankful to the postal service for flying my little carving across the big pond safely so that it arrived in one piece.
No workshop post is complete without a photo of my faithful helpers: zzzzzzzzzzz!

No comments:
Post a Comment
Thank you for your comment - it means a lot to me that you read my post and are leaving a comment - you just made my day!